Wooden, chain-link, plastic, or metal fences can be put up for various reasons. The most common justification is an effort to shield your commercial activities from prying eyes in your neighborhood. The safety of your children and pets is a secondary, but no less vital, reason for fencing in your yard. Whatever your motivation, a tastefully installed fence can only improve the visual appeal of your property and increase its resale value.
I’ve found that it’s best to do some self-reflection before beginning any large project. Can I handle this responsibility? Can I count on the equipment I have? How do my muscles feel? Do I need to ask for approval? Asking for assistance is not a reflection poorly on the asker. I’ve asked for assistance, saving me time and money.
If you are unsure if a permit is required, I advise you to contact your local code or permitting office. Once you’ve decided that fencing is allowed on your land, you should construct it only where it belongs. If you are unsure of your property’s dimensions, you can either engage a surveyor or look them up at the office responsible for maintaining tax plat records in your area. Put up flags at the corners and display your lines using paint, poles, and thread.
Putting up a fence
Wood, metal, and plastic are just a few materials that can be used to construct a fence. Because of its superior durability over time, pressure-treated wood will serve as our case study material. Don’t stress too much about calculating the exact amount of supplies required. Simply visit a fencing supplier in your area with precise property measurements. They can calculate the price with ease.
Needed Equipment:
Unless you’re into hammering, an air pistol nailer will speed up the process.
Eye protection
Post-hole digger (if you don’t mind blisters) or a power drill (be sure to have someone show you how to use it properly, and always put safety first). When these mechanical animals start digging, they won’t stop for anything (including your foot).
Miniature sled
Line of fire
The cement of the fast-setting Type N
Choose galvanized nails if possible; they will outlast the fence and the wood it is nailed into.
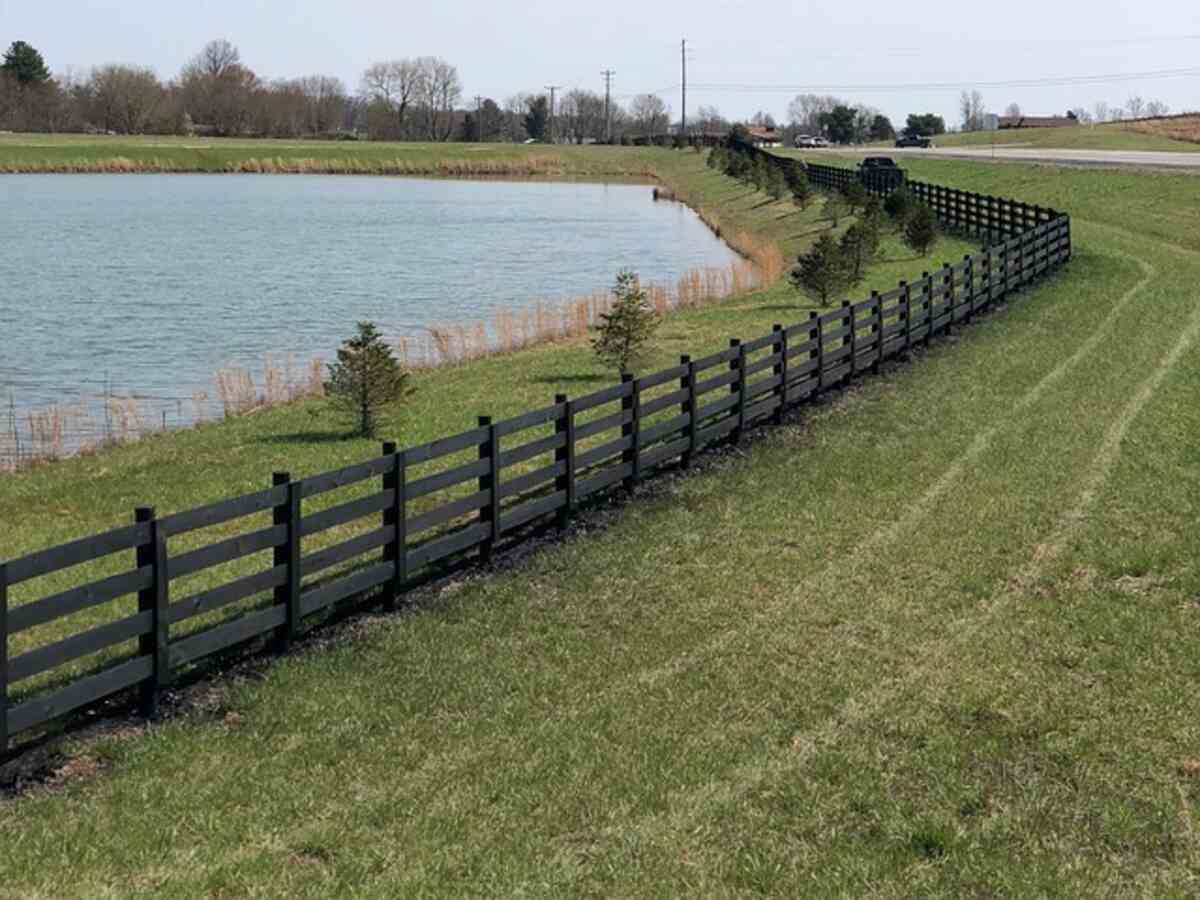
The length of your fence will dictate how many posts you need and where you should put them. They should be set at least 6 to 8 feet apart. You can begin digging the holes after deciding where to put the posts. When installing posts, it is recommended to bury at least a third of the pole’s length.
My preferred method is to install the corner posts first and then utilize them to align the remaining posts. Position the corner posts as desired, then fill each hole with a bag of quick-drying concrete to keep them in place. Adding a gallon of water and waiting for the mixture to solidify takes less than an hour. After setting a post in the hole, make any adjustments to ensure it is plumb. Stake the post in place by nailing scrap wood to it. When the mortar has dried, secure the length of the shot line as securely as possible between each corner post. This will serve as your plumb line while you set up the other posts.
Remember that a reasonable standard height for the top rail is between 58 and 66 inches above the floor. The bottom and middle rails need to be set at the same distance apart. The rail length is found by taking the distance between the centers of two posts. To ensure that your rails are level and at the same height off the ground, you should use two 10-penny nails to secure the end of each rail to each post.
Ensure all the rails are in place before installing the pickets to speed up the construction process. Set a picket atop the first post so its base is about an inch off the floor. Check for level, and then secure it with nails.
Picket the second post, but use only one or two nails to secure it this time. Then nail a string to the top of each picket, about half an inch from the top, and string them together. Then, lower the top of each picket until it is half an inch below the string. The pickets can gradually mirror the yard’s natural slope.
Advice: As you move along the rails, cut a little piece of one picket to serve as a spacer to keep the distance between the pickets consistent. (Remember to keep setting pickets so their tops are half an inch below the string line.)
Put one nail into the middle of each picket while keeping it in place next to the spacer. This will give some wiggle room for correcting the alignment afterward. Move clockwise around the perimeter, nailing the center of each picket as you go.
The pickets must now be plumbed. Check for level by holding your level next to and above each one. Once it’s in the right spot, grab the nail gun and drive two more nails into the top end (totaling three, counting the one used to hold the piece temporarily). Then, drive three more nails into the bottom end to keep it in place. Go back up the line and do it again, then switch sides and do it again.
If you do everything well, you’ll have a fence that complements your home’s aesthetics and runs straight on all sides.
JustGoDoItYourself.com is owned and operated by Chuck Lunsford, a highly successful webmaster. DIY fence installation is made easier with his additional suggestions and advice.
Read also: Precisely What is Radiation and Is It Unsafe?